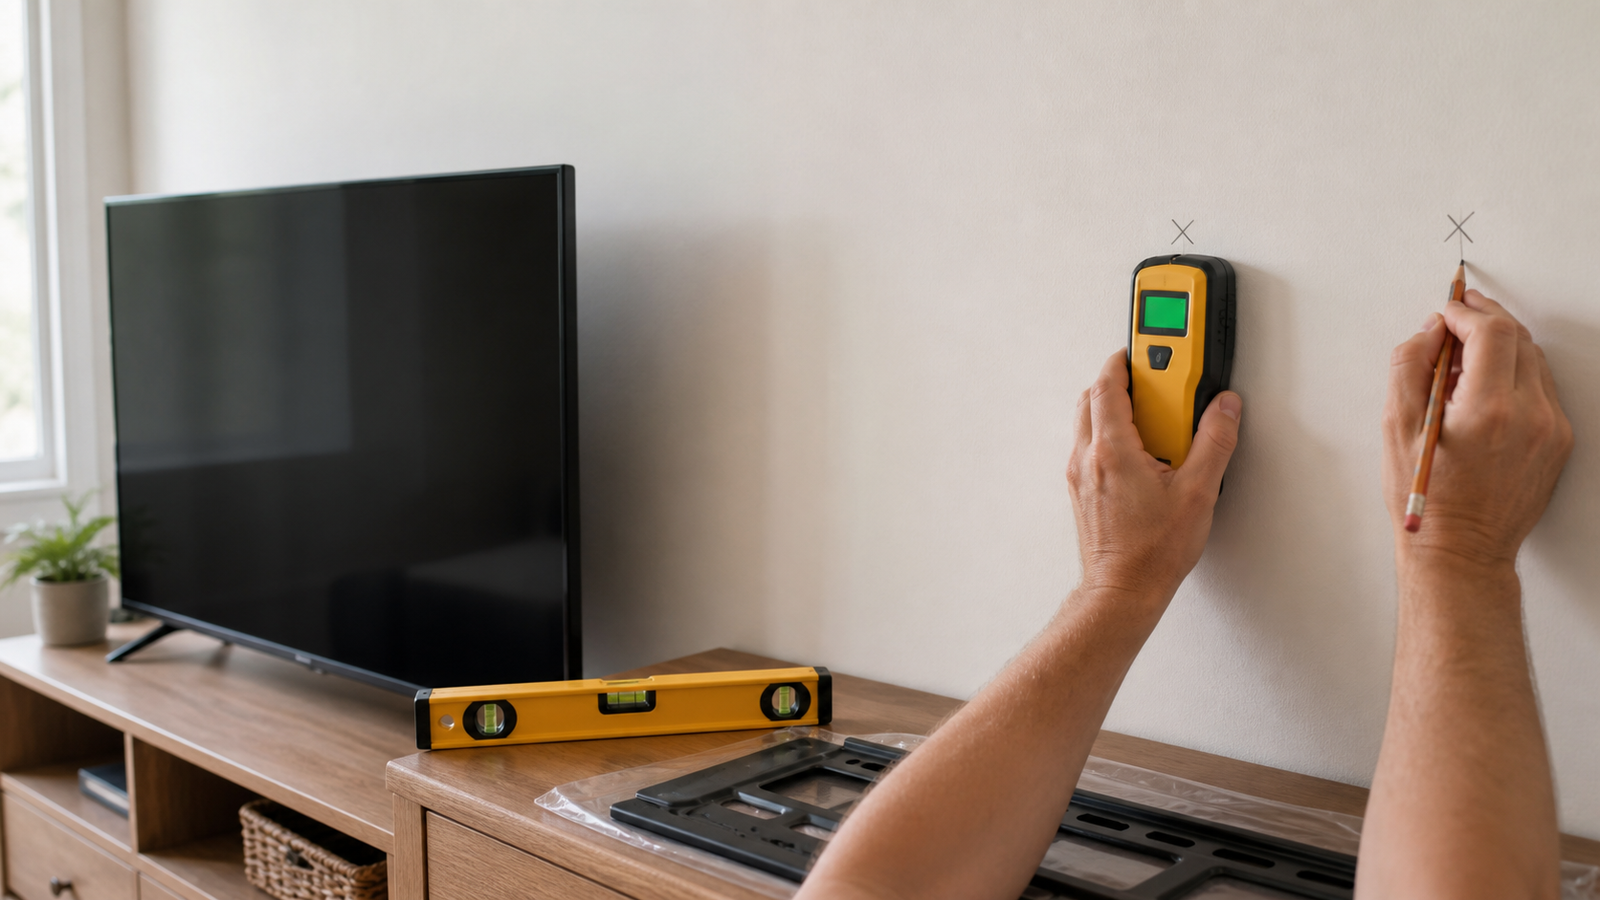
How to Find Studs for TV Mounting and Verify Wall Support
A stud finder can put a mark on the wall. That mark is not the same thing as confirmed structural support for a television mount.
The tool may have detected a wood stud, a metal stud, a pipe, blocking, a fastener, or simply a change in the wall assembly. Even if the mark is over framing, the correct attachment still depends on the mount, the wall, and the instructions supplied with that mount. The useful goal is not to make the stud finder beep. It is to build enough consistent evidence that you understand what is behind the mounting location before any holes are made.
This is a guide to locating and verifying likely support. It is not a complete TV-installation manual, an anchor-capacity guide, or permission to drill based on one detector reading.
What You Are Actually Trying to Find
Four ideas often get collapsed into one:
- A stud-finder indication means a sensor reacted to something.
- An object behind the wall may be framing, plumbing, wiring, blocking, a fastener, or another material.
- An actual framing member may be wood or metal and may not behave the way the tool assumes.
- A suitable mounting location must satisfy the particular mount manufacturer’s instructions and the actual wall construction.
Detecting something is only the first step. A centered arrow looks decisive, but it is the center of a sensor response—not a structural assessment. Likewise, finding one drywall screw suggests that framing may be behind it. It does not identify the entire framing layout or establish that a specific mount can be attached there.
TV-mount manuals vary because mounts and walls vary. A fixed mount, a full-motion mount, wood framing, metal framing, and masonry are not interchangeable cases. Use the manual for the exact mount as the controlling installation document rather than treating a general web article as a substitute. Reputable mount makers such as Sanus provide model-specific manuals and support rather than one universal attachment rule.
Start With the Wall, Not the Stud Finder
Before scanning, identify what you can about the wall. Standard drywall over conventional framing is a much easier sensing problem than plaster over lath, tile over backer board, or a wall containing metal mesh. A deep-scan button cannot make those assemblies equivalent.
Look at the whole area. Outlets and switches, trim nails, drywall seams, visible fastener dimples, corners, doors, and windows can all provide context. None is a guaranteed stud map. Remodels, unusual framing, surface-mounted or old-work electrical boxes, added blocking, and repaired walls can defeat tidy assumptions.
Also consider whether the mounting area may conceal plumbing or wiring. Kitchens, bathrooms, utility spaces, and walls near electrical equipment deserve extra caution, but hidden services can exist elsewhere too. A stud finder’s live-wire warning is an additional alert, not proof that an unlit location is safe.
How to Scan for Studs
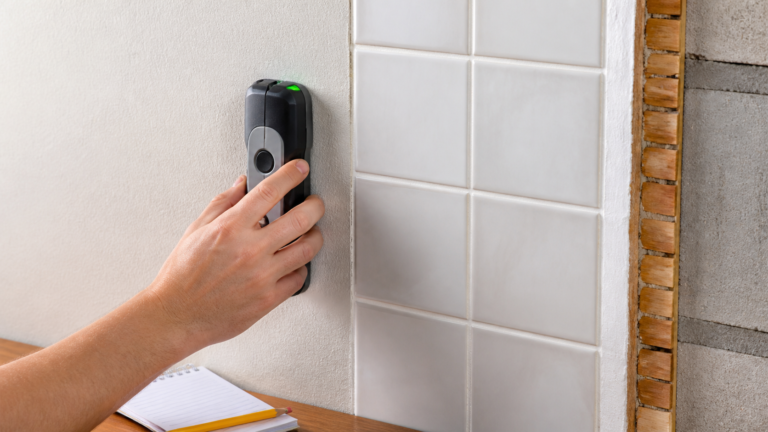
Use the mode the manufacturer specifies for the wall material and expected depth. Hold the finder flat, follow its calibration instructions, and move at the stated pace. Starting in the wrong place or using a deep mode on ordinary drywall can produce a result that looks useful but is responding to something else.
If the model detects edges, mark the first edge, approach from the other direction, and mark the second. The midpoint is a hypothesis about the center. If it reports a center directly, repeat the pass and see whether the mark returns to the same place. A full-width sensor display can make an unusually wide or irregular response easier to notice.
Different tools detect different physical clues. Magnetic finders locate ferrous metal, usually drywall screws or nails in this context. Electronic models sense changes associated with material behind the surface. More advanced scanners may classify material or indicate a center. The companion guide to how stud-finder technologies and depth ratings work explains those differences without turning them into a product ranking.
Do not keep switching modes until one gives the answer you wanted. If shallow and deep modes disagree, or the reported object changes with scan direction, that disagreement is information. The wall may contain more than a simple stud-and-cavity pattern.
Why One Reading Is Not Enough
A single pass can be affected by calibration, wall contact, surface thickness, moisture, nearby objects, and the direction of travel. Verification is the process of asking whether the indication behaves like framing.
- Repeat the scan at the same height. The mark should return to roughly the same location.
- Scan from both directions when the tool’s instructions allow it. Compare the two edges or centers.
- Scan above and below the first mark. Framing normally produces a repeatable vertical pattern; an isolated response deserves more investigation.
- Compare the result with visible wall clues and other likely framing locations.
- Use another method when the consequence of error is significant. A magnet can check for a vertical fastener pattern even after an electronic scan.
Agreement does not create certainty, but several independent clues pointing to the same line are more useful than one confident-looking light.
Map the Mounting Area, Not Just One Point
A television mount occupies an area. Finding one likely stud at the visual center of the TV location does not tell you where the rest of the mount plate will land, whether another required attachment point lines up with verified support, or whether the wall becomes more complicated a few inches away.
Mark likely framing lines lightly across the height where the wall plate will sit. Check each line at several heights. Then compare that map with the hole pattern and wall requirements in the exact mount manual. This is where a full-width display or repeatable edge detector can earn its cost: it helps describe the object instead of producing one isolated dot.
If the wall plate requires a support location you cannot verify, do not stretch the evidence to fit the hardware. Reconsider the position, the mount, or the need for qualified installation. The detector should inform the mounting plan; the plan should not pressure you into accepting a weak reading.
Also distinguish framing from added blocking. Some walls include horizontal wood installed specifically for fixtures, while others contain fire blocking or unrelated backing. A horizontal solid response may be useful, but it is not automatically suitable support for a mount. The wall construction and mount instructions still control.
Stud Spacing Is a Clue, Not Proof
Framing is often laid out at regular intervals, which makes spacing useful for testing a hypothesis. It is not a rule you can safely project across every wall. Corners, openings, intersecting walls, plumbing, blocking, repairs, and nonstandard construction all disturb regular layouts.
If you have a well-supported stud location, nearby repeated readings at plausible intervals can strengthen the pattern. Measuring a fixed distance from a corner or outlet and drilling at the result does not verify anything. Use spacing to ask whether the map makes sense, not to create a stud where no other evidence exists.
Outlets and Switches Can Help—and Can Mislead
Electrical boxes are often attached to framing, so their location can hint at a stud edge. “Often” is doing important work. Some boxes are designed to clamp to the finished wall, some attach to adjustable supports, and remodels create exceptions.
Do not assume which side of a box has framing, and do not probe inside a box to find out. Use the visible location only as one contextual clue. Wiring commonly runs to these boxes, which is another reason not to treat the area beside an outlet or switch as an automatic drilling location.
Magnetic Verification
A strong magnet or magnetic stud finder can locate ferrous drywall fasteners. Move it slowly across the suspected line and mark each attraction. Several fasteners arranged vertically support the hypothesis that they were driven into the same framing member.
One magnetic hit proves only that ferrous metal is near the surface. It could be a fastener, protective plate, corner bead, metal framing, or another object. The method is most persuasive when multiple hits align vertically and agree with a repeatable electronic reading.
For a simple drywall wall, this cheap second method may add more confidence than buying a finder with several poorly explained modes. The guide to finding a stud without a stud finder compares magnetic verification with trim, outlet, spacing, and surface clues.
Metal Studs Change the Problem
Electronic and magnetic tools may locate metal framing, and an advanced scanner may identify the response as metal. That still does not establish how a particular TV mount should be attached or what the assembly can support.
Metal studs differ in gauge, shape, spacing, backing, and installation. Mount designs and approved attachment methods differ too. Follow the exact mount manufacturer’s instructions for the wall type. If those instructions do not cover the construction in front of you, the detector cannot fill that gap.
Plaster, Tile, and Thick Walls
Plaster can vary in thickness, wood lath creates repeated density changes, and metal lath can produce a broad metal response. Tile adds a layered assembly that may include mortar, backer board, waterproofing, mesh, and moisture. Double drywall may simply put the framing beyond a basic finder’s shallow mode.
Check the detector’s documented surface compatibility. Greater depth can help with a thicker supported surface, but it also exposes the sensor to more objects. The separate guide to using stud finders on plaster, tile, and thick walls explains why those readings become difficult.
Before Drilling
Safety note: A stud or wall scanner can miss objects. No live-wire alert does not prove an area is clear. Use multiple sources of information, follow the instructions for the detector and the exact TV mount, and take appropriate electrical, plumbing, and wall-construction precautions before drilling or cutting. Stop and get qualified help when the wall or the required attachment is uncertain.
Review the whole map rather than only the final pencil mark. Do the suspected edges repeat? Is there a vertical pattern? Does another method agree? Is the apparent object unexpectedly wide? Does the mount manual cover the wall construction? An unexplained contradiction is a reason to pause, not to average the marks.
What Matters When Buying a Finder for TV Mounting
Repeatable edge or center indication matters more than a dramatic display. The mark needs to return to the same location from repeated passes.
Wider sensor coverage can show the apparent width of a response and reduce the back-and-forth work of finding two edges. It does not identify every illuminated object as wood.
Deeper scanning matters when the supported wall assembly is too thick for the standard mode. On ordinary drywall, extra depth may add confusing signals rather than useful information. Zircon’s explanation of Stud Scan and DeepScan specifically cautions against scanning deeper than necessary because deeper objects may be detected.
Metal or material identification can help when the project may involve metal framing or other hidden objects. More modes earn their cost only when the tool helps the user understand what those modes detected.
Live-wire warning is useful as another warning channel. It sounds more reassuring than it is because a negative result is not clearance to drill.
For straightforward drywall, a basic electronic finder plus magnetic verification may answer the question. Complicated walls can justify better material information. Price alone does not remove uncertainty.
Bottom Line
Finding support for a TV mount is a process of corroboration. Scan carefully, repeat the reading, map it vertically, and compare it with other clues. A single beep, arrow, outlet location, or spacing measurement is not enough.
The stud finder provides evidence. The wall and the mount instructions determine whether that evidence adds up to a suitable mounting location.
Frequently Asked Questions
Can I mount a TV if I cannot find a stud?
Do not improvise an attachment based on a general article. Mounts, wall assemblies, and approved attachment methods vary. Follow the exact mount manufacturer’s instructions; if the wall cannot be identified or the instructions do not cover it, get qualified help.
Can I trust a stud finder for TV mounting?
Use it as one source of evidence. A repeatable reading that agrees with a vertical fastener pattern and other wall clues is more useful than one pass. It still does not replace the mount instructions or establish that drilling is safe.
How do I know if I found the center of a stud?
Repeat the center reading from both directions if the tool permits, or mark both detected edges and compare the midpoint. Check the result above and below. A consistent pattern supports the estimate; an arrow by itself does not prove it.
Can an outlet tell me where a stud is?
It can provide a clue because some boxes attach to framing. Other boxes clamp to the wall or use different supports, and you cannot safely assume which side is framed. Never use the outlet location as the only evidence.
Can TV mounts attach to metal studs?
Some mount systems and specified attachment methods may accommodate certain metal-framed walls. Locating metal does not establish compatibility or capacity. Follow the instructions for the exact mount and wall construction.
What if my finder gives several different readings?
Check mode, calibration, wall contact, battery condition, and surface compatibility. Scan at several heights and use another method. Conflicting marks may indicate a complicated wall or multiple hidden objects; do not simply choose the most convenient mark.