How to Find a Stud Without a Stud Finder: Which Methods Actually Help?
Most tricks for finding a wall stud without a stud finder are not really stud-finding methods. They are ways to collect clues. A magnet can locate a drywall fastener. Trim nails may suggest where a carpenter found framing. An outlet may sit beside a stud. A hollow sound may suggest a cavity.
Any one of those clues can be wrong or misread. The useful approach is to combine methods and look for agreement. If the consequence of a bad guess is more than a tiny patch in drywall, guessing is a poor bargain.
The Best Low-Tech Method: Find the Fasteners
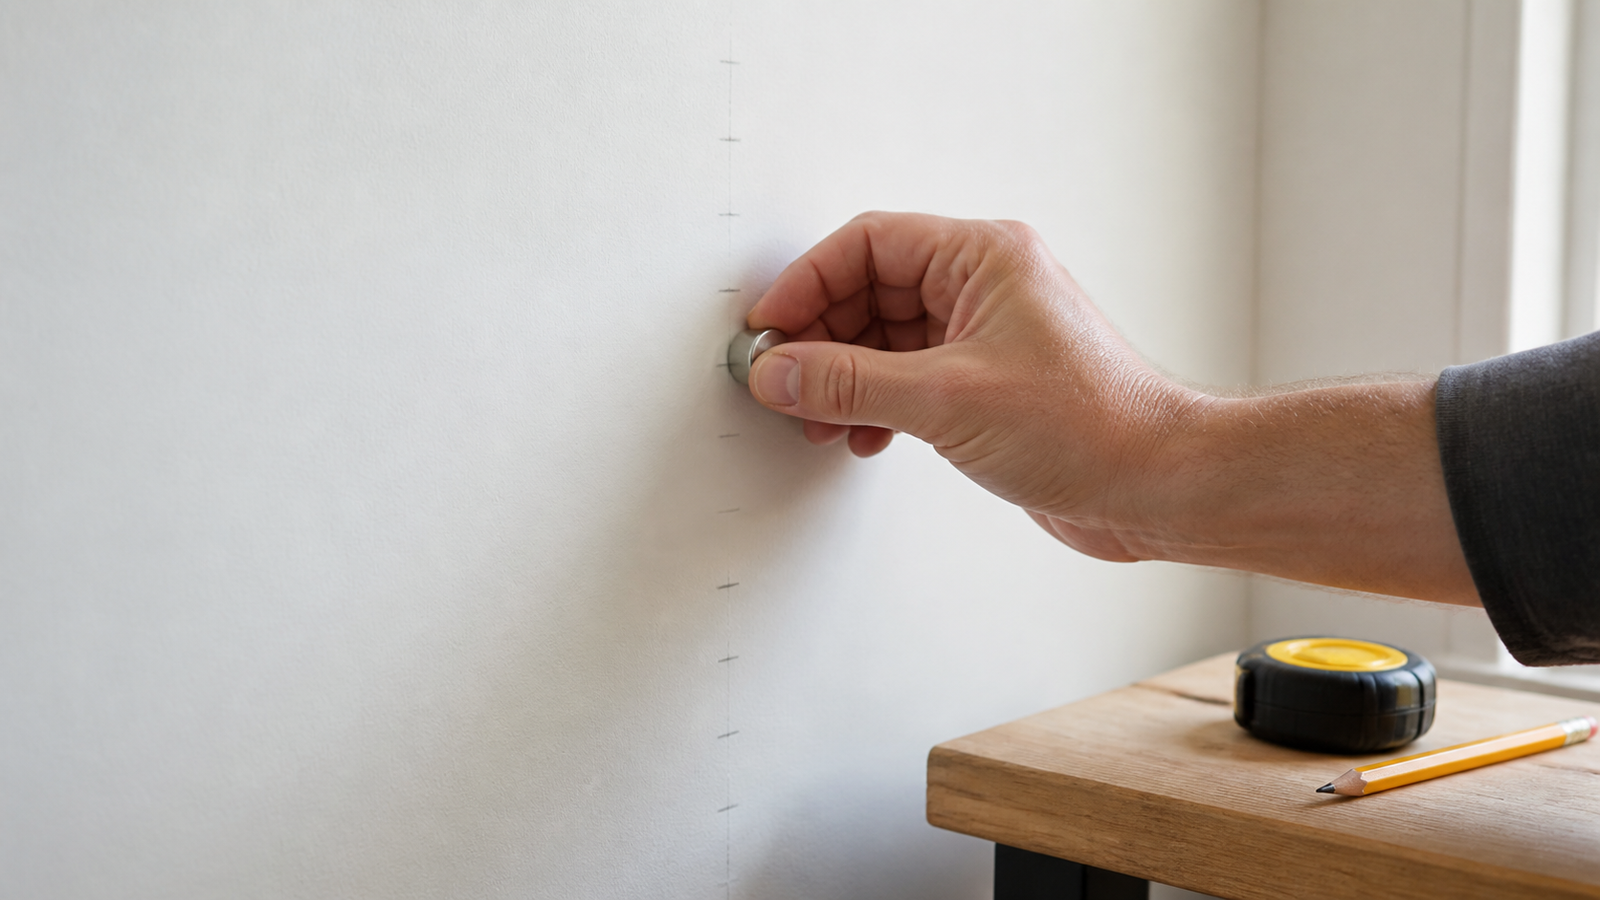
Drywall is commonly attached to framing with steel screws or nails. A strong magnet can locate those ferrous fasteners through the finished surface. Move it slowly across the wall until the pull is noticeable, mark that location, and then look above and below for additional hits.
Several magnetic hits arranged in a vertical line are useful evidence of a framing member. One hit is only evidence of metal. It could be a drywall fastener, but it could also be metal corner bead, a protective plate, metal framing, a bracket, or another object.
The method works best when the fasteners are shallow and the finish is not unusually thick. Plaster, tile, multiple drywall layers, and deeply set fasteners weaken the magnetic pull; see the separate guide to stud finders on difficult wall materials. A purpose-built magnetic finder is convenient, but a sufficiently strong magnet uses the same basic clue.
This method has an advantage over tapping: the response comes from a physical object rather than a subjective change in sound. It still finds the fastener, not the wood itself.
Look at Trim and Baseboards
Baseboards, crown molding, and other trim may show small filled nail holes or slight depressions. Finish carpenters often try to nail trim into framing, so a vertical line extended from a nail location can suggest a stud.
That is a clue, not a framing plan. Trim can be nailed into plates, blocking, drywall anchors, or whatever held during installation. Nail holes may be filled well enough to disappear, or decorative patterns may have nothing to do with stud locations.
If a trim-nail clue agrees with magnetic fasteners higher on the wall and a plausible repeated pattern, it becomes more useful. By itself, it is not a reason to drill.
Outlets and Switches: Useful, but Not Proof
Many electrical boxes attach to the side of a framing member. That makes an outlet or switch a possible framing clue. The problem is variation: old-work boxes can clamp directly to the finished wall, boxes can attach to bars or brackets, and remodels do not always follow the pattern you expect.
Do not assume the stud is always on a particular side of the box. Do not remove covers, probe inside the box, or improvise electrical work to answer the question. Use the visible box location only as one point on the map, and remember that wiring runs to it.
Measuring From Corners, Openings, or a Known Stud
Framing is often installed at regular on-center spacing. Once one stud is well supported by several clues, common spacing can suggest where to search for the next one. Corners, doors, and windows also require framing, so they can provide starting context.
The internet version of this method often turns a convention into a guarantee: measure a fixed distance from the corner or outlet and drill. Real walls contain extra framing, shifted layouts, intersecting walls, plumbing, blocking, repairs, and openings. The tape measure should tell you where to investigate, not where a stud must be.
Use spacing as a consistency check. If magnetic fasteners repeat at plausible intervals, the pattern gets stronger. If the measurement and the physical clues disagree, believe the disagreement and keep investigating.
Knocking on the Wall
Tapping can sometimes reveal a change from a hollow cavity to a more solid area. It is also one of the easiest methods to oversell. The sound depends on drywall thickness, texture, insulation, blocking, plaster, tile, how hard you tap, and what your ear expects to hear.
At best, tapping narrows the search area on simple drywall. It does not identify the material behind the surface, locate a precise center, or distinguish a stud from blocking or another solid object. Use it to decide where to try a magnet, not as the final answer.
Grazing Light and Surface Clues
Shine a flashlight nearly parallel to the wall rather than straight at it. Grazing light can reveal slight dimples over fasteners, vertical finishing differences, drywall seams, patches, or texture changes that disappear under normal room lighting.
Some clues reflect construction; others reflect paint, repairs, or uneven finishing. A seam may help explain the wall layout, but it does not guarantee a stud exactly where you expect. Mark only repeatable clues and compare them with fasteners, trim, and spacing.
What About Phone Apps?
A phone by itself is not a general-purpose wall scanner. Some apps use the phone’s magnetometer—the same sensor involved in compass functions—to react to nearby metal. In favorable conditions that may help locate a shallow steel fastener, but it is still magnetic detection with a phone interface.
The sensor position varies by phone, cases and accessories can affect the response, and the app may turn a noisy magnetic-field change into an impressive-looking graphic. It does not make the phone capable of identifying wood through drywall. If the goal is to find fasteners, a strong magnet usually provides a simpler physical indication.
Other apps merely provide tapping instructions, spacing calculators, or augmented-reality marks. Those can organize clues, but they do not add new evidence about what is inside the wall. Treat any app according to the sensor it actually uses, not the picture on its screen.
Combine Clues Instead of Trusting One Trick
Several weak clues can become useful when they are independent and agree. A practical sequence looks like this:
- Identify the likely wall construction. These methods are most straightforward on ordinary drywall.
- Use visible clues—trim nails, surface dimples, outlets, and openings—to choose a search area.
- Use a strong magnet to locate more than one likely fastener.
- Check for a consistent vertical line.
- Use plausible spacing to predict another line, then verify it with physical clues.
- Repeat the work at different heights.
A magnet hit, a trim nail, and a surface dimple on the same vertical line tell a better story than three taps that sound “about right.” Independence matters. Three measurements based on the same mistaken assumption are still one bad clue.
Corroboration reduces uncertainty; it does not identify hidden wiring, plumbing, or every wall material. A suspected stud location is not automatic clearance to penetrate the wall.
What Not to Do
- Do not drill a series of exploratory holes merely to see what the bit hits.
- Do not drive nails or probes into an unknown wall to “feel” for wood.
- Do not probe around or inside electrical boxes.
- Do not treat a fixed measurement from a corner, outlet, window, or door as proof.
- Do not assume a solid sound means wood framing.
- Do not assume finding a stud means the surrounding area is free of wiring or plumbing.
Safety note: Hidden services and objects can exist even when several framing clues agree. Use appropriate electrical, plumbing, and wall-construction precautions before drilling, cutting, nailing, or screwing. If the wall or the consequence of a wrong location is uncertain, stop and get qualified help.
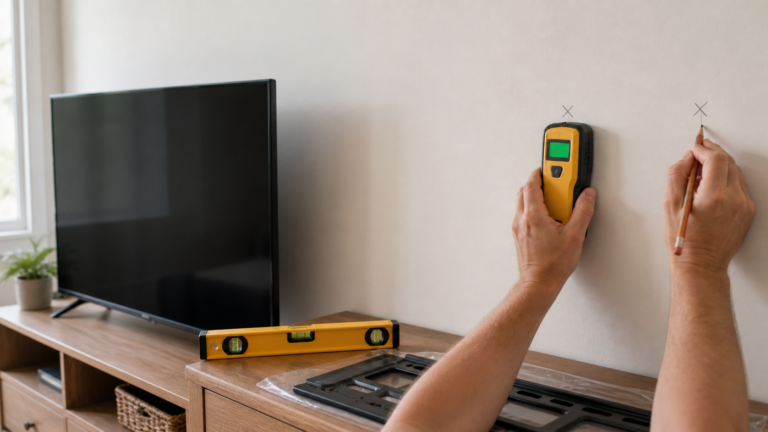
For a heavy attachment, the evidence threshold should be higher. The TV-mounting verification guide explains how to map the full mounting area rather than trust one mark.
When Buying a Stud Finder Is Easier
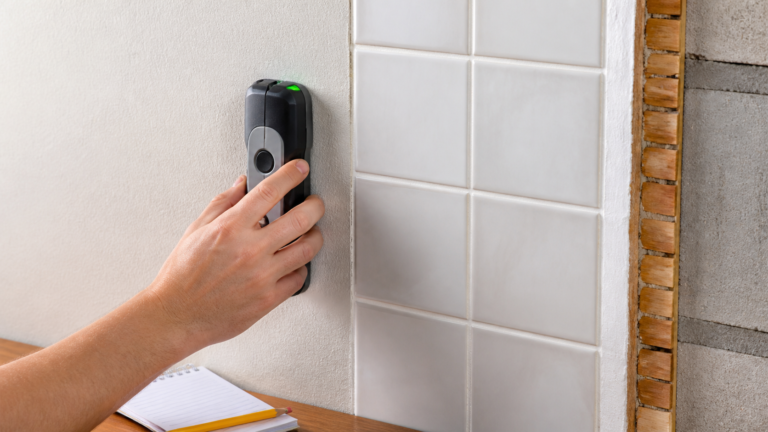
The point of avoiding a stud finder is usually to avoid buying a tool for one small job. That logic falls apart when the search takes longer than the tool costs or the mark needs to be more precise than a low-tech clue can provide.
A simple magnetic finder needs no batteries or calibration and has one clear purpose: locating ferrous fasteners. For occasional picture hanging on standard drywall, that generic method may be enough.
A basic electronic model earns its price when you need to map edges or centers repeatedly. Wider sensor coverage can make the apparent width easier to see. Deep modes and material identification start to matter on thicker or more complicated walls, but more features do not guarantee a clearer answer.
Before paying for a long feature list, understand what each type of stud finder actually detects. The useful question is not how many modes the package lists. It is whether the tool supplies information your low-tech clues cannot.
The threshold also changes with the job. Locating a possible fastener for a small picture and locating support before cutting or mounting expensive equipment do not carry the same cost of error. As the consequence rises, spending a little on a second sensing method—or getting qualified help—becomes easier to justify.
A finder does not eliminate the need to corroborate. It changes the quality of the clues. An electronic edge or center indication that agrees with several magnetic fasteners is more informative than either method alone.
Bottom Line
The best way to find a stud without an electronic finder is usually a combination: locate several fasteners with a magnet, check their vertical alignment, compare visible wall clues, and use spacing only to guide the next search.
Tapping, measuring, and outlet locations are hypotheses. Agreement makes them more useful. None turns an unknown wall into a known one, and none proves that drilling is safe.
Frequently Asked Questions
Can a regular magnet find a stud?
A sufficiently strong magnet can locate ferrous drywall screws or nails associated with framing. It finds the fastener, not the wood. Several vertically aligned hits provide better evidence than one.
Which side of an outlet is the stud on?
There is no side you can assume. Some boxes attach to framing; others clamp to the wall or use brackets. Treat the outlet as a clue and do not probe inside it.
Can I find studs by knocking?
Tapping may suggest a change between a cavity and a solid area on simple drywall, but the result is subjective and affected by the wall assembly. Use it to narrow a search, not to choose a drilling point.
Does regular stud spacing prove where the next stud is?
No. Regular spacing can predict where to look after one stud is well supported by evidence. Openings, corners, repairs, extra framing, and services can change the layout.
Why can’t I find fasteners with a magnet?
The magnet may be too weak, the fasteners may be deep, or the wall may have plaster, tile, multiple layers, adhesive, or a different construction. Failure to find a fastener does not prove no framing is present.