How Far Apart Are Wall Studs? 16 vs 24 Inches and Why You Still Need to Verify
You found one stud. Now the tempting move is to measure 16 inches and assume the next one is there.
That often works.
It is not reliable enough to hang a heavy TV, cabinet, or other load without verification.
Wood-framed walls are commonly built with studs 16 inches on center, but 24-inch spacing is also permitted and used in many wall assemblies. Openings, corners, intersecting walls, plumbing, repairs, and unusual framing can also break the pattern.
Quick Answer
16 inches on center is a common residential stud spacing. 24 inches on center is also used.
“On center” means the measurement is taken from the centerline of one stud to the centerline of the next.
Use spacing as a clue, not proof. Once you think you know where a stud is, verify its location before drilling or mounting a heavy load.
What “16 Inches on Center” Means
A typical wood stud is about 1-1/2 inches wide.
When framing is 16 inches on center, the center of one stud is 16 inches from the center of the next.
That matters because measuring 16 inches from an edge is not the same thing unless you know exactly which edge and how the wall was laid out.
Once you locate the center of one stud accurately, 16-inch increments can help predict neighboring studs.
Why 24-Inch Stud Spacing Exists
Wider spacing is not automatically a construction mistake.
The 2024 International Residential Code includes wall-framing conditions where 24-inch stud spacing is permitted, depending on stud size, wall height, load, and assembly. The U.S. Department of Energy also describes advanced framing that commonly uses 2×6 studs at 24 inches on center to reduce lumber and thermal bridging while increasing cavity space for insulation.
That means a house can be perfectly legitimate and still refuse to follow your 16-inch assumption.
Why Stud Spacing Changes Around Doors and Windows
Openings need framing that does more than maintain a repeating pattern.
Around a door or window you may encounter:
- king studs
- jack or trimmer studs
- headers
- cripple studs
- additional blocking
The exact arrangement depends on the structure and opening.
This is why measuring 16 inches from a door frame can sometimes land on wood and sometimes mislead you. The framing around the opening may not represent the normal field spacing of the wall.
Corners and Intersecting Walls Can Add Extra Lumber
Wall intersections need surfaces where adjoining walls and finishes can be attached.
Depending on the framing method, that can mean extra studs or blocking near corners.
If your stud finder seems to show a wide area of solid material near an intersection, do not assume every edge you detect is the center of a normal single stud.
Older Houses Can Be Less Predictable
Age does not automatically mean random framing, but older houses can add complications:
- plaster and lath
- renovations
- blocked-in openings
- furring strips
- added walls
- irregular repairs
- different framing practices
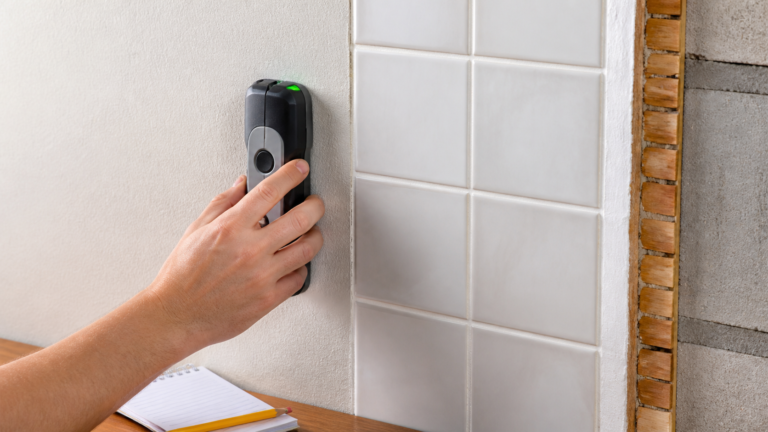
If you are working through plaster, tile, or thick wall assemblies, see Do Stud Finders Work Through Plaster, Tile, and Thick Walls?.
Why Outlet Boxes Are Useful Clues—but Not Proof
Electrical boxes are often fastened to framing, so an outlet or switch can suggest a nearby stud.
It does not tell you with certainty which side the stud is on, and some boxes are installed with old-work clamps rather than fastened directly to a stud.
Treat the box as another clue to combine with other methods.
Do not probe blindly around electrical wiring.
A Better Way to Use Stud Spacing
Use spacing after you find one stud—not before.
A practical sequence is:
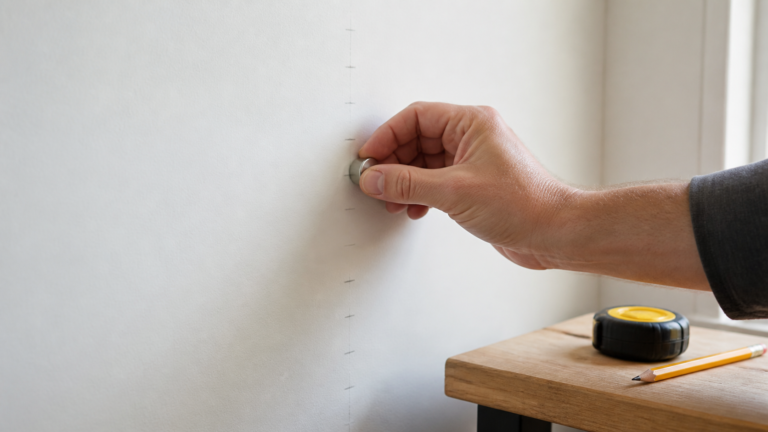
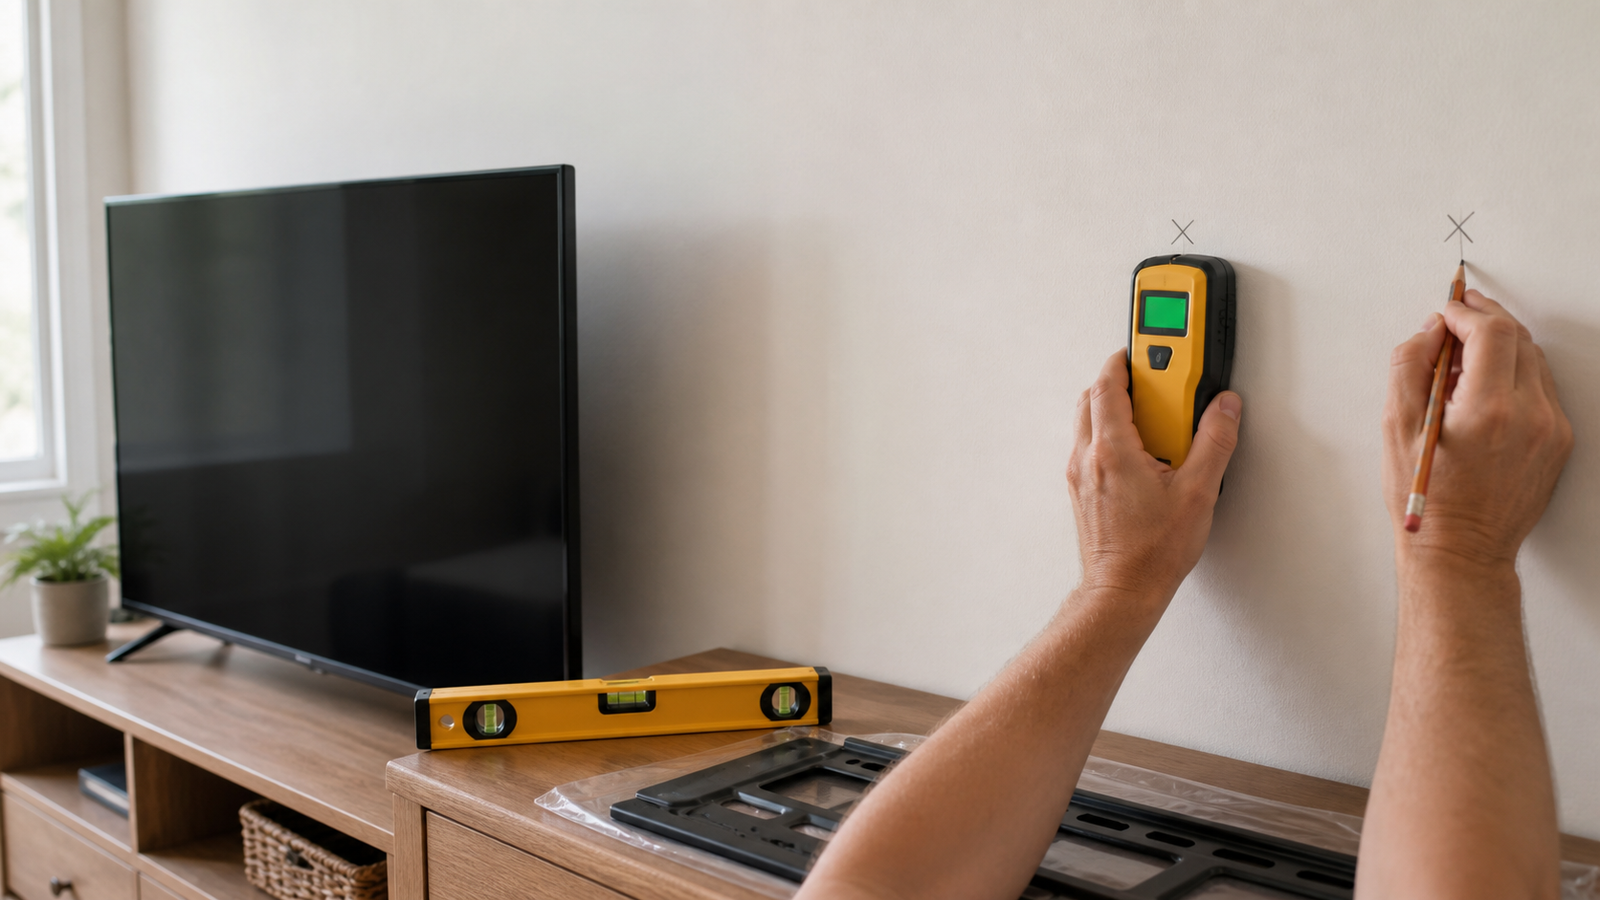
- Locate a likely stud with a stud finder, magnet, or another non-destructive method.
- Find both edges if possible and estimate the center.
- Measure 16 inches and 24 inches from that center as likely positions for the next stud.
- Scan or verify the predicted location.
- Repeat across the area if the mounting job needs more than one stud.
Spacing becomes a consistency check.
If repeated centers appear every 16 inches, your confidence rises. If the pattern shifts, stop assuming and investigate the wall you actually have.
TV Mounting Is Where Guessing Gets Expensive
A light picture can tolerate more uncertainty than a large articulating TV mount.
For heavy loads, the goal is not “probably a stud.” The goal is to identify suitable structural support and follow the mounting hardware manufacturer’s instructions for the wall type.
See How to Find Studs for TV Mounting and Verify Wall Support for the full process.
Can You Find Studs Without a Stud Finder?
Yes. Spacing is one of several clues.
Others include:
- magnets locating drywall fasteners
- outlet or switch locations
- trim fasteners
- tapping as a rough clue
- tiny verification holes where appropriate and safe
None is perfect alone.
See How to Find a Stud Without a Stud Finder.
Why Stud Finders Sometimes Seem “Wrong” About Spacing
A stud finder detects changes in or behind the wall. Depending on the technology and wall assembly, it may respond to:
- studs
- pipes
- wires
- doubled framing
- blocking
- changes in wall density
That is why a weird reading should not be forced into a 16-inch pattern just because you expect one.
For how the different sensor types work, see How Stud Finders Work.
Bottom Line
Sixteen inches on center is common. Twenty-four inches on center is also real residential framing.
Use those measurements to predict where the next stud may be, not to declare where it must be.
For anything heavy or expensive, locate, cross-check, and verify the actual framing before you drill.
The wall does not care what spacing you expected it to have.